SSO統合
Cloudflare Zero Trustを使用すると、組織のアイデンティティプロバイダー(IdP)をCloudflare Accessと統合できます。チームは複数のプロバイダーを同時に使用でき、パートナーや契約者と作業する際の摩擦を軽減します。
アイデンティティプロバイダーをログイン方法として追加するには、Zero Trust ↗とアイデンティティプロバイダー自体の両方で設定が必要です。設定に必要なことについては、IdP固有のドキュメントを参照してください。
Cloudflare Zero Trustは、管理者アカウントを必要としないソーシャルアイデンティティプロバイダー、オープンソースプロバイダー、および企業プロバイダーをサポートしています。Cloudflareはまた、SAMLプロバイダーとの間で署名されたAuthNリクエストを使用することもサポートしています。
-
In Zero Trust ↗, go to Settings > Authentication.
-
In the Login methods card, select Add new.
-
Select the identity provider you want to add.
If you do not see your identity provider listed, these providers can typically still be enabled. If they support OIDC or OAuth, select the generic OIDC option. If they support SAML, select the generic SAML option. Cloudflare supports all SAML and OIDC providers and can integrate with the majority of OAuth providers. If your provider supports both SAML and OIDC, we recommend OIDC for ease of configuration.
-
Fill in the necessary fields to set up your identity provider.
Each identity provider will have different required fields for you to fill in. Step-by-step instructions are shown in the dashboard side panel.
-
Once you have filled in the necessary fields, select Save.
あなたのIdPは、ログイン方法カードに表示されるようになります。
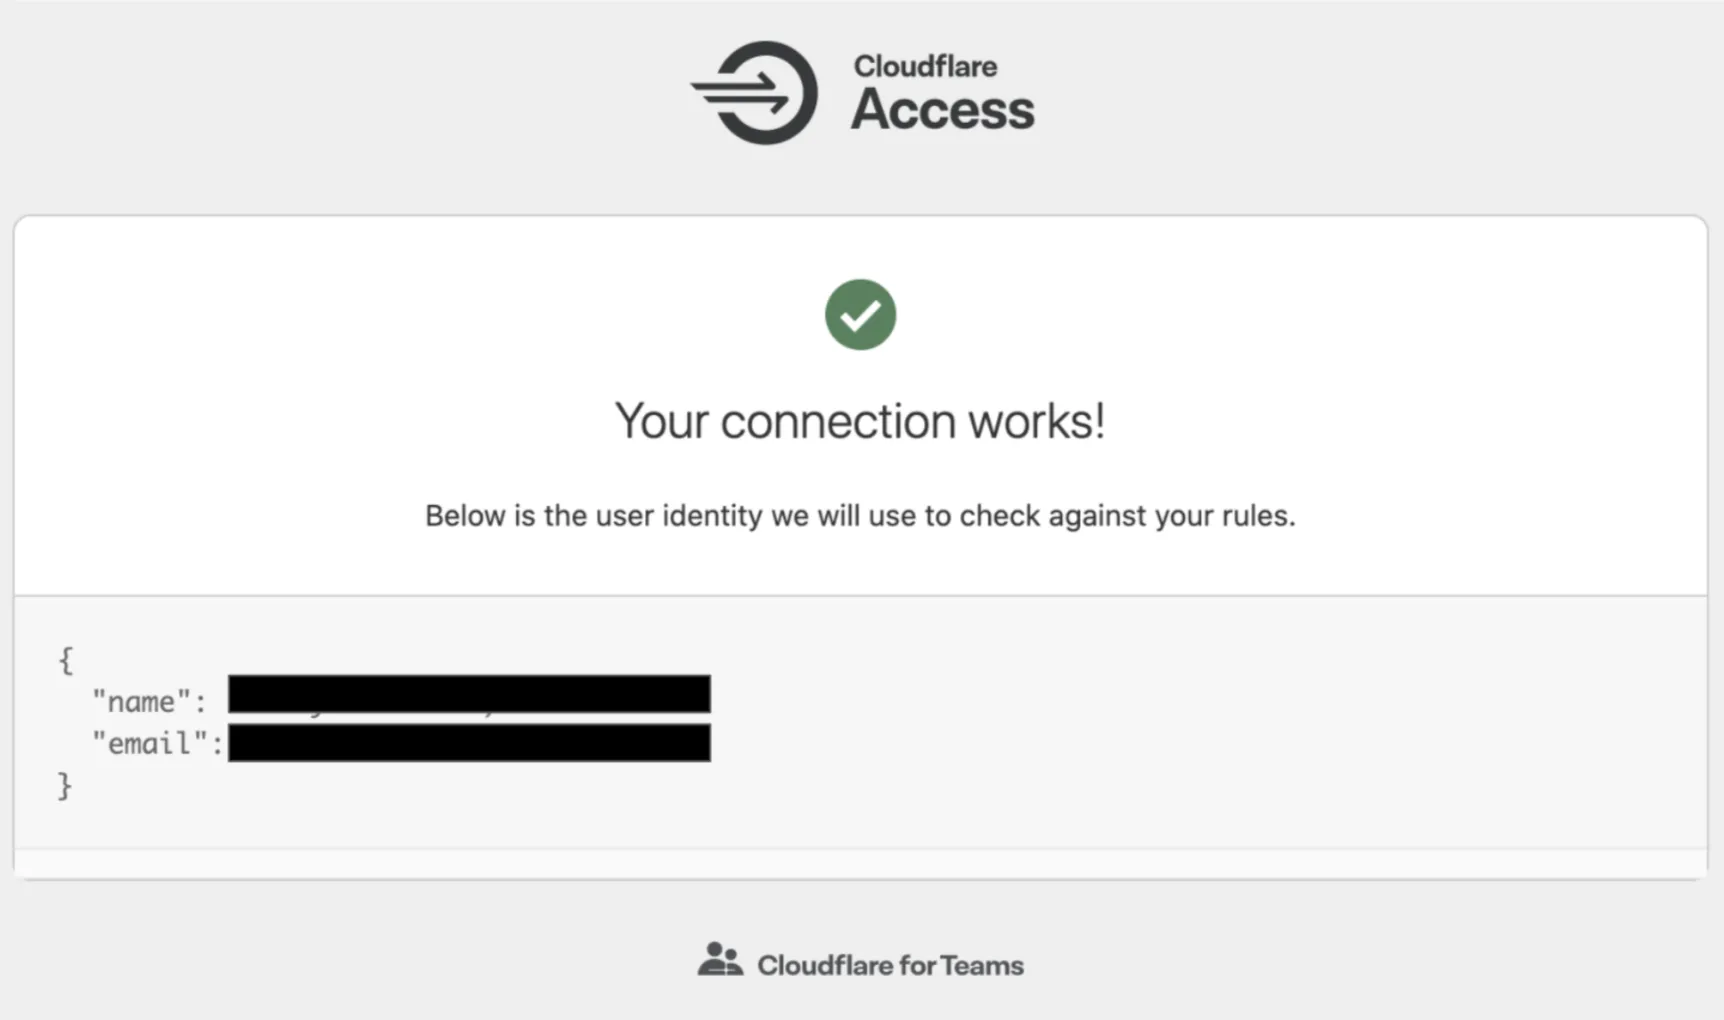
IdPが正しく設定されているかをテストするには、設定 > 認証に移動します。次に、テストしたいIdPの横にあるテストを選択します。これにより、IdPに接続して有効な接続が確立されているかを確認します。
プロバイダーが接続されている場合、ブラウザに別のウィンドウが開き、次のメッセージが表示されます:
プロバイダーが接続されていない場合、ブラウザに別のウィンドウが開きます。エラーメッセージとともに、テストが失敗した理由の詳細な説明が表示されます。
アイデンティティプロバイダーを設定するには、ダッシュボードを使用することをお勧めします。ただし、Cloudflare API ↗を使用したい場合は、ここで取り上げた各アイデンティティプロバイダーのトピックにAPI設定スニペットの例が含まれています。