Centrify
Centrifyは、インフラストラクチャ、DevOps、クラウド、およびその他の現代企業へのアクセスを保護し、特権アクセスの悪用という侵害の主な原因を防ぐことができます。
-
Centrify管理者パネルにログインします。
-
Appsを選択します。
-
Add Web Appsを選択します。
-
Customタブを選択し、次にAdd OpenID Connectを選択します。
-
Add Web App画面で、OpenID Connectアプリケーションを作成するためにYesを選択します。
-
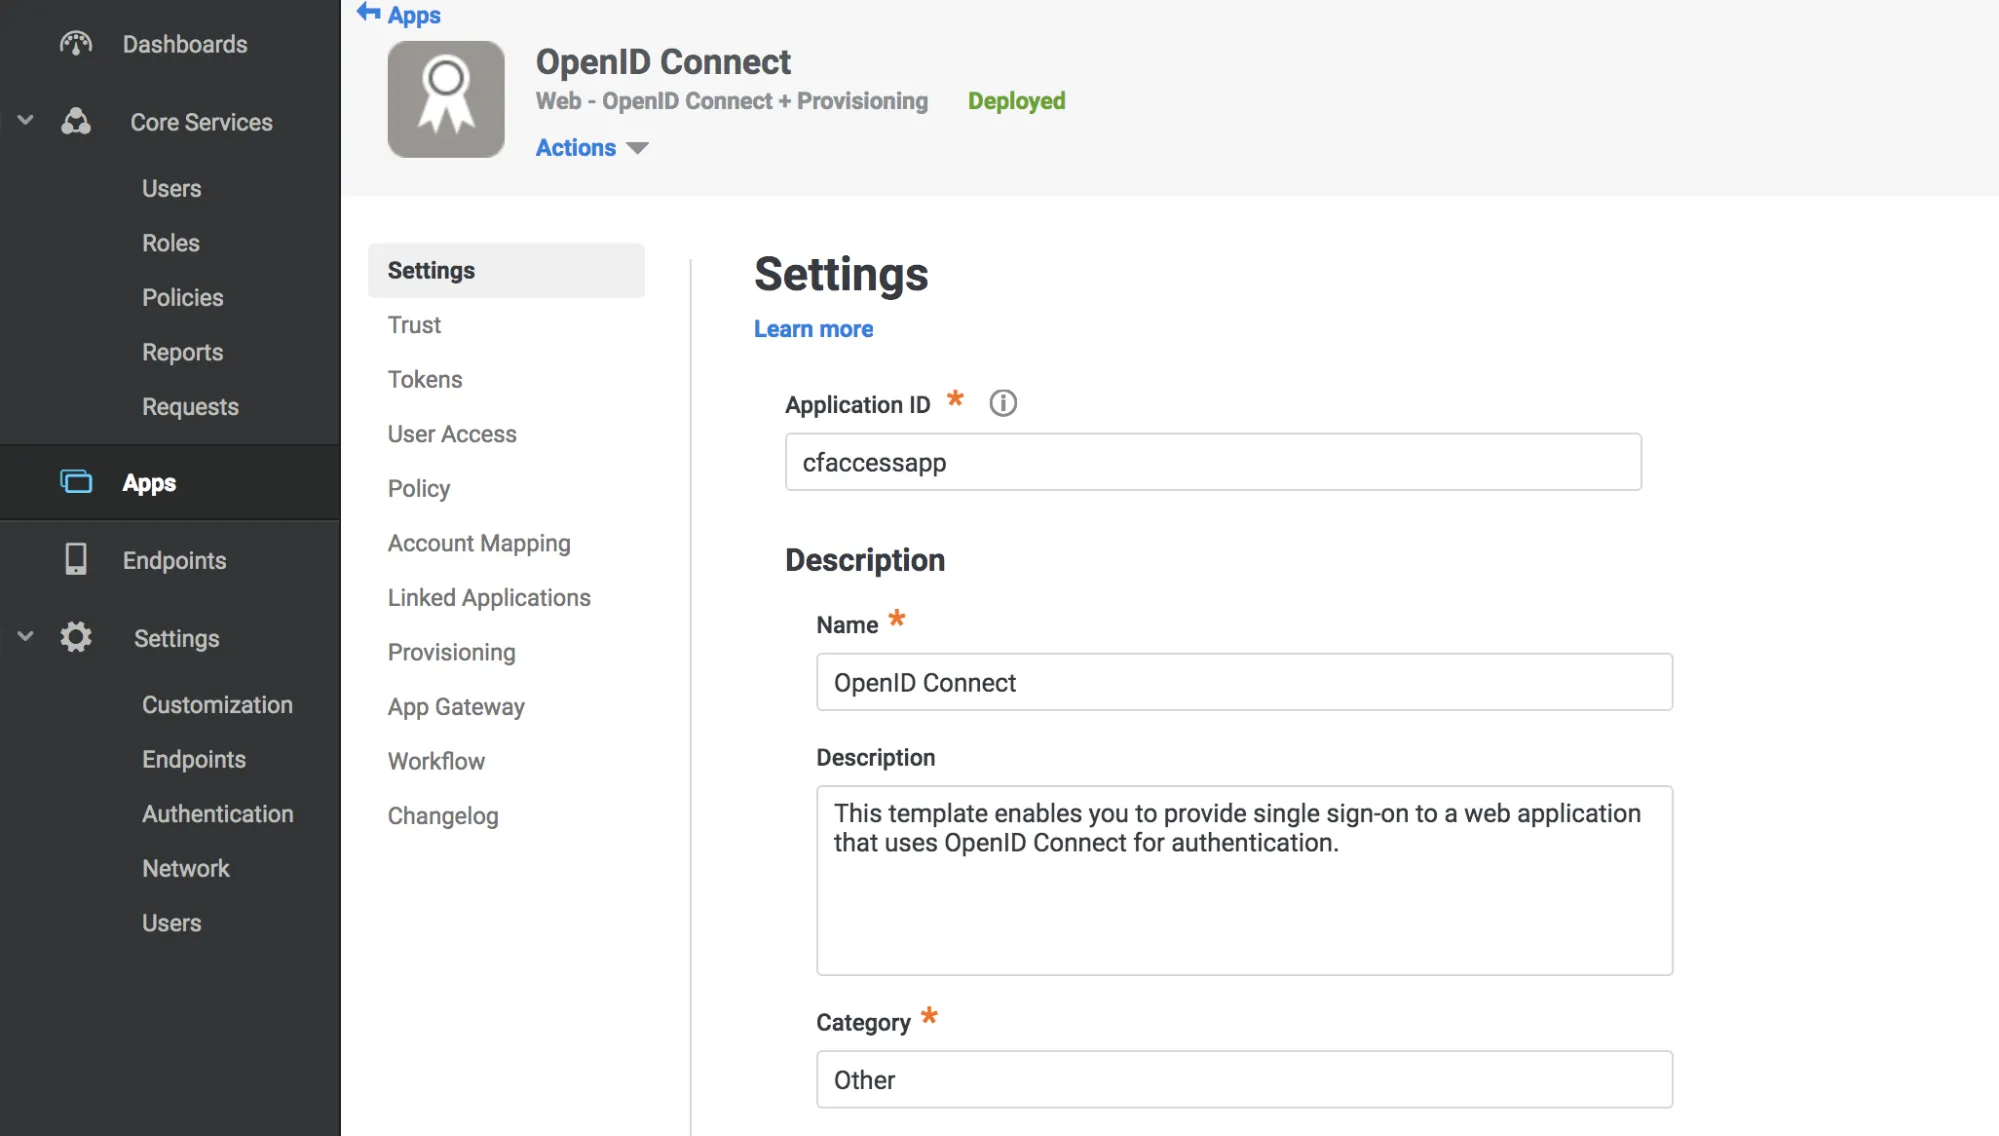
Application IDを入力します。
-
Saveを選択します。
-
SettingsメニューでTrustを選択します。
-
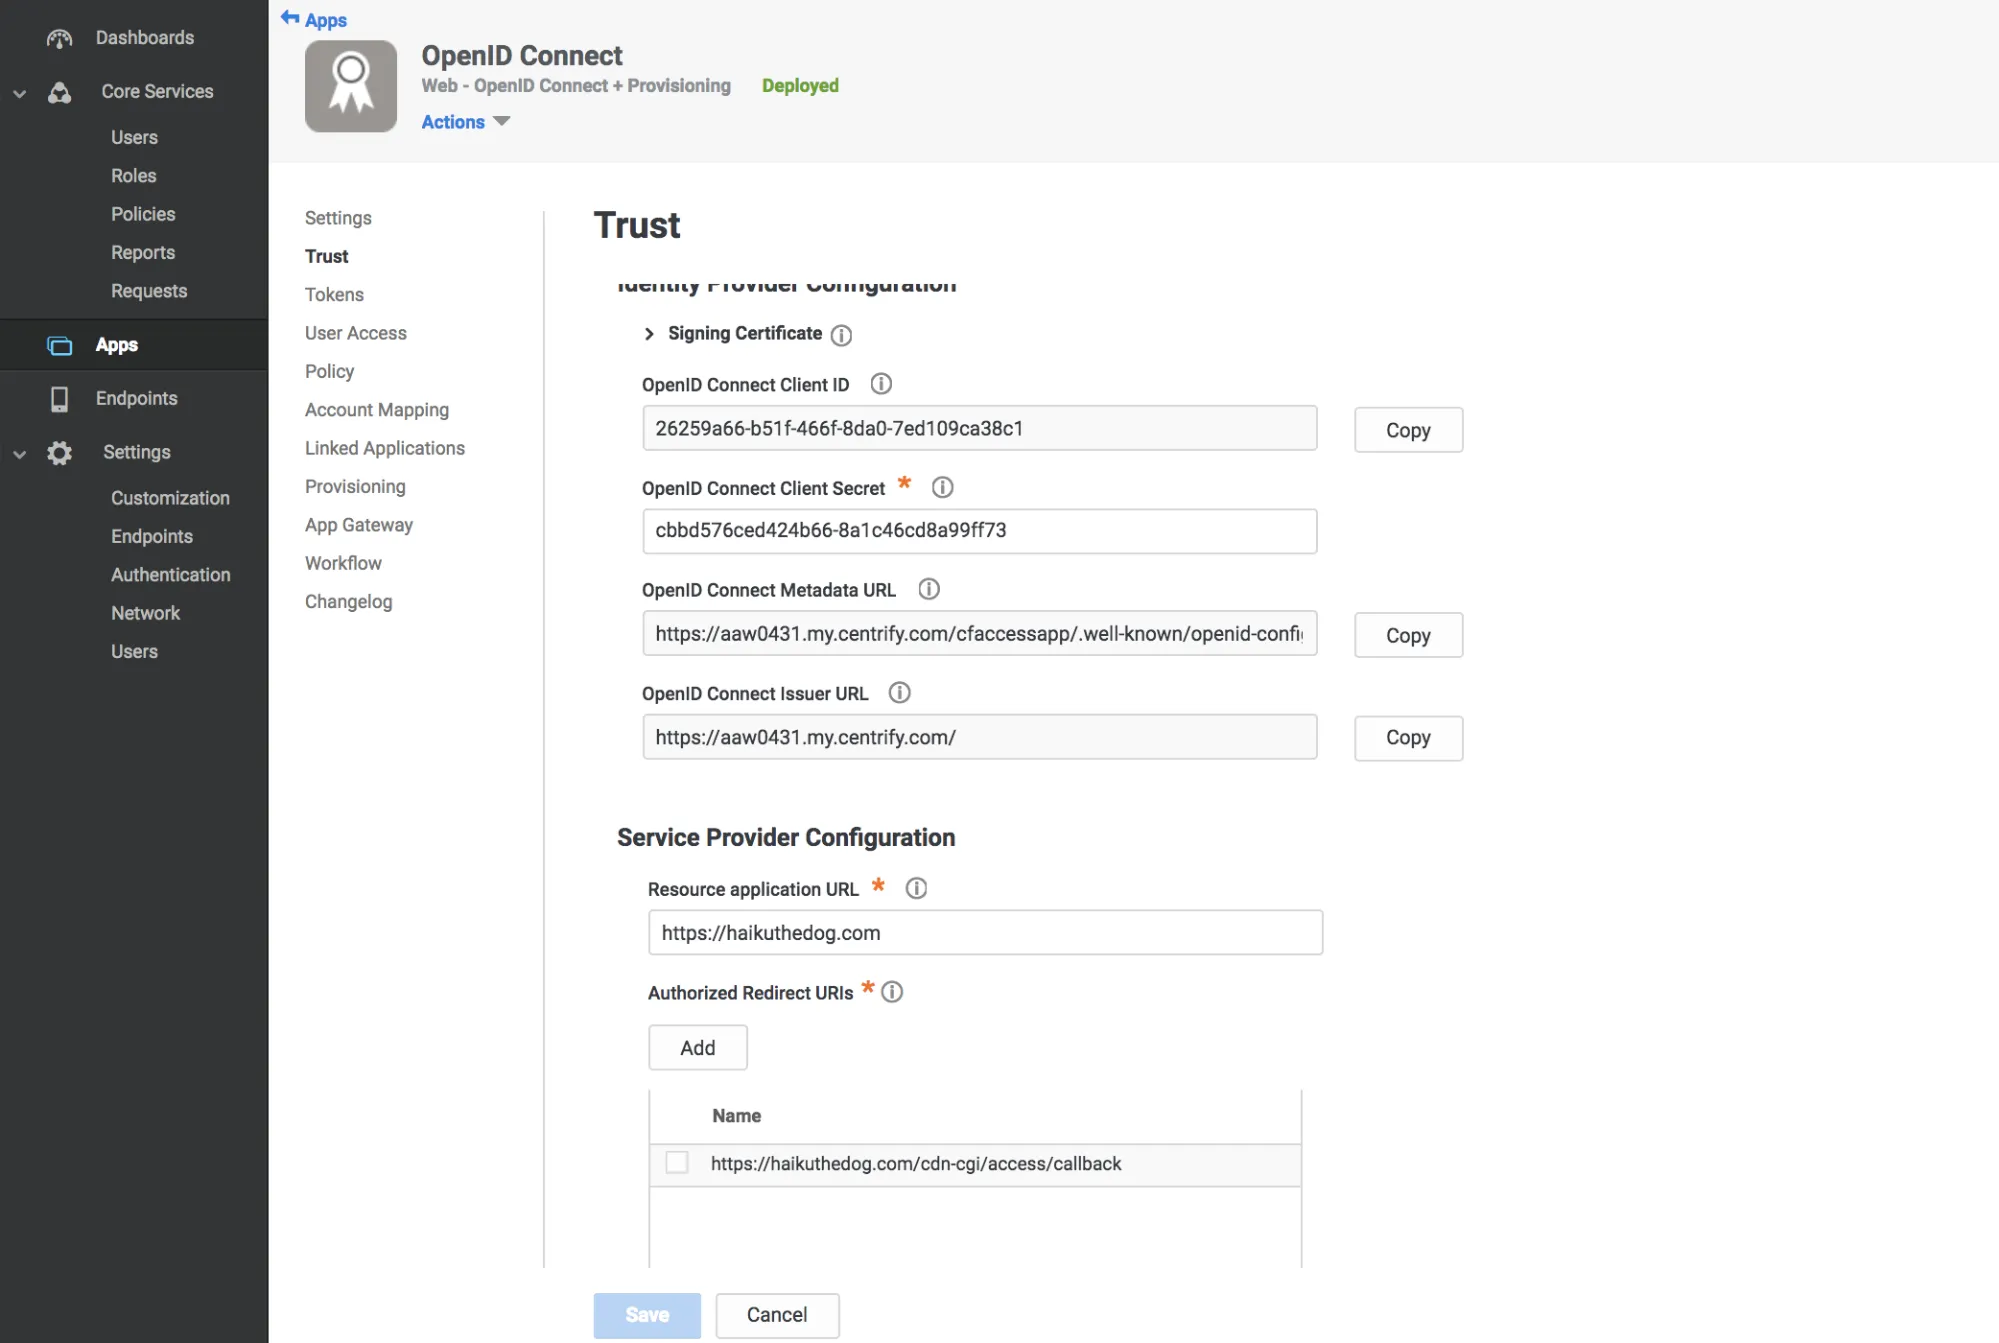
Trustセクションに強力なアプリケーションシークレットを入力します。
-
Service Provider Configurationの下に、リソースアプリケーションURLとしてアプリケーションの認証ドメインを入力します。
-
Authorized Redirect URIsの下で、Addを選択します。
-
Authorized Redirect URIsの下に、次のURLを入力します:
https://<your-team-name>.cloudflareaccess.com/cdn-cgi/access/callbackチーム名は、Zero TrustのSettings > Custom Pagesで見つけることができます。
-
Saveを選択します。
-
次の値をコピーします:
- Client ID
- Client Secret
- OpenID Connect Issuer URL
- Application ID(Settingsタブから)
-
User Accessタブに移動します。
-
アプリケーションへのアクセスを付与する役割を選択します。
-
Zero Trust ↗に移動し、Settings > Authenticationに行きます。
-
Login methodsの下で、Add newを選択します。
-
Client ID、Client Secret、Centrify account URL、およびApplication IDを貼り付けます。
-
(オプション)Optional configurationsの下に、ユーザーのアイデンティティに追加したいcustom OIDC claimsを入力します。この情報は、user identity endpointで利用可能になります。
-
Saveを選択します。
接続が機能しているかテストするには、Authentication > Login methodsに移動し、テストしたいログインメソッドの横にあるTestを選択します。
{ "config": { "client_id": "<your client id>", "client_secret": "<your client secret>", "centrify_account": "https://abc123.my.centrify.com/", "centrify_app_id": "exampleapp" }, "type": "centrify", "name": "my example idp"}