Oktaガイド
このチュートリアルでは、Email Security(旧Area 1)アカウントをOktaに接続する方法を学びます。シングルサインオン(SSO)が正しく構成されている場合、認可された従業員は、馴染みのあるユーザー名とパスワードを使用してEmail Securityダッシュボードに接続できます。
OktaでEmail Security用のアプリを手動で作成する必要があります。
-
管理者としてOktaにログインします。
-
管理コンソールで、Applications > Applicationsに移動します。

-
Create App Integration > SAML 2.0を選択し、Nextを選択します。

-
アプリの説明的な名前(例:
Email Security)を入力し、Nextを選択します。 -
SAML Settingsの以下の設定を入力します:
Single sign on URL https://horizon.area1security.com/api/users/samlAudience URI (SP Entity ID) https://horizon.area1security.com/api/users/samlName ID format ドロップダウンメニューからEmailAddressを選択します。 Application username ドロップダウンメニューからEmailを選択します。 Response Signed Assertion signature Unsigned Signature Algorithm RSA-SHA1 Digest Algorithm SHA1 Attribute statements (optional) Name ユーザーのメールアドレスを入力します。Email Security(旧Area 1)ダッシュボードに既に追加されているユーザーと一致する必要があります。 Name format ドロップダウンメニューからUnspecifiedを選択します。 Value ドロップダウンメニューから user.emailを選択します。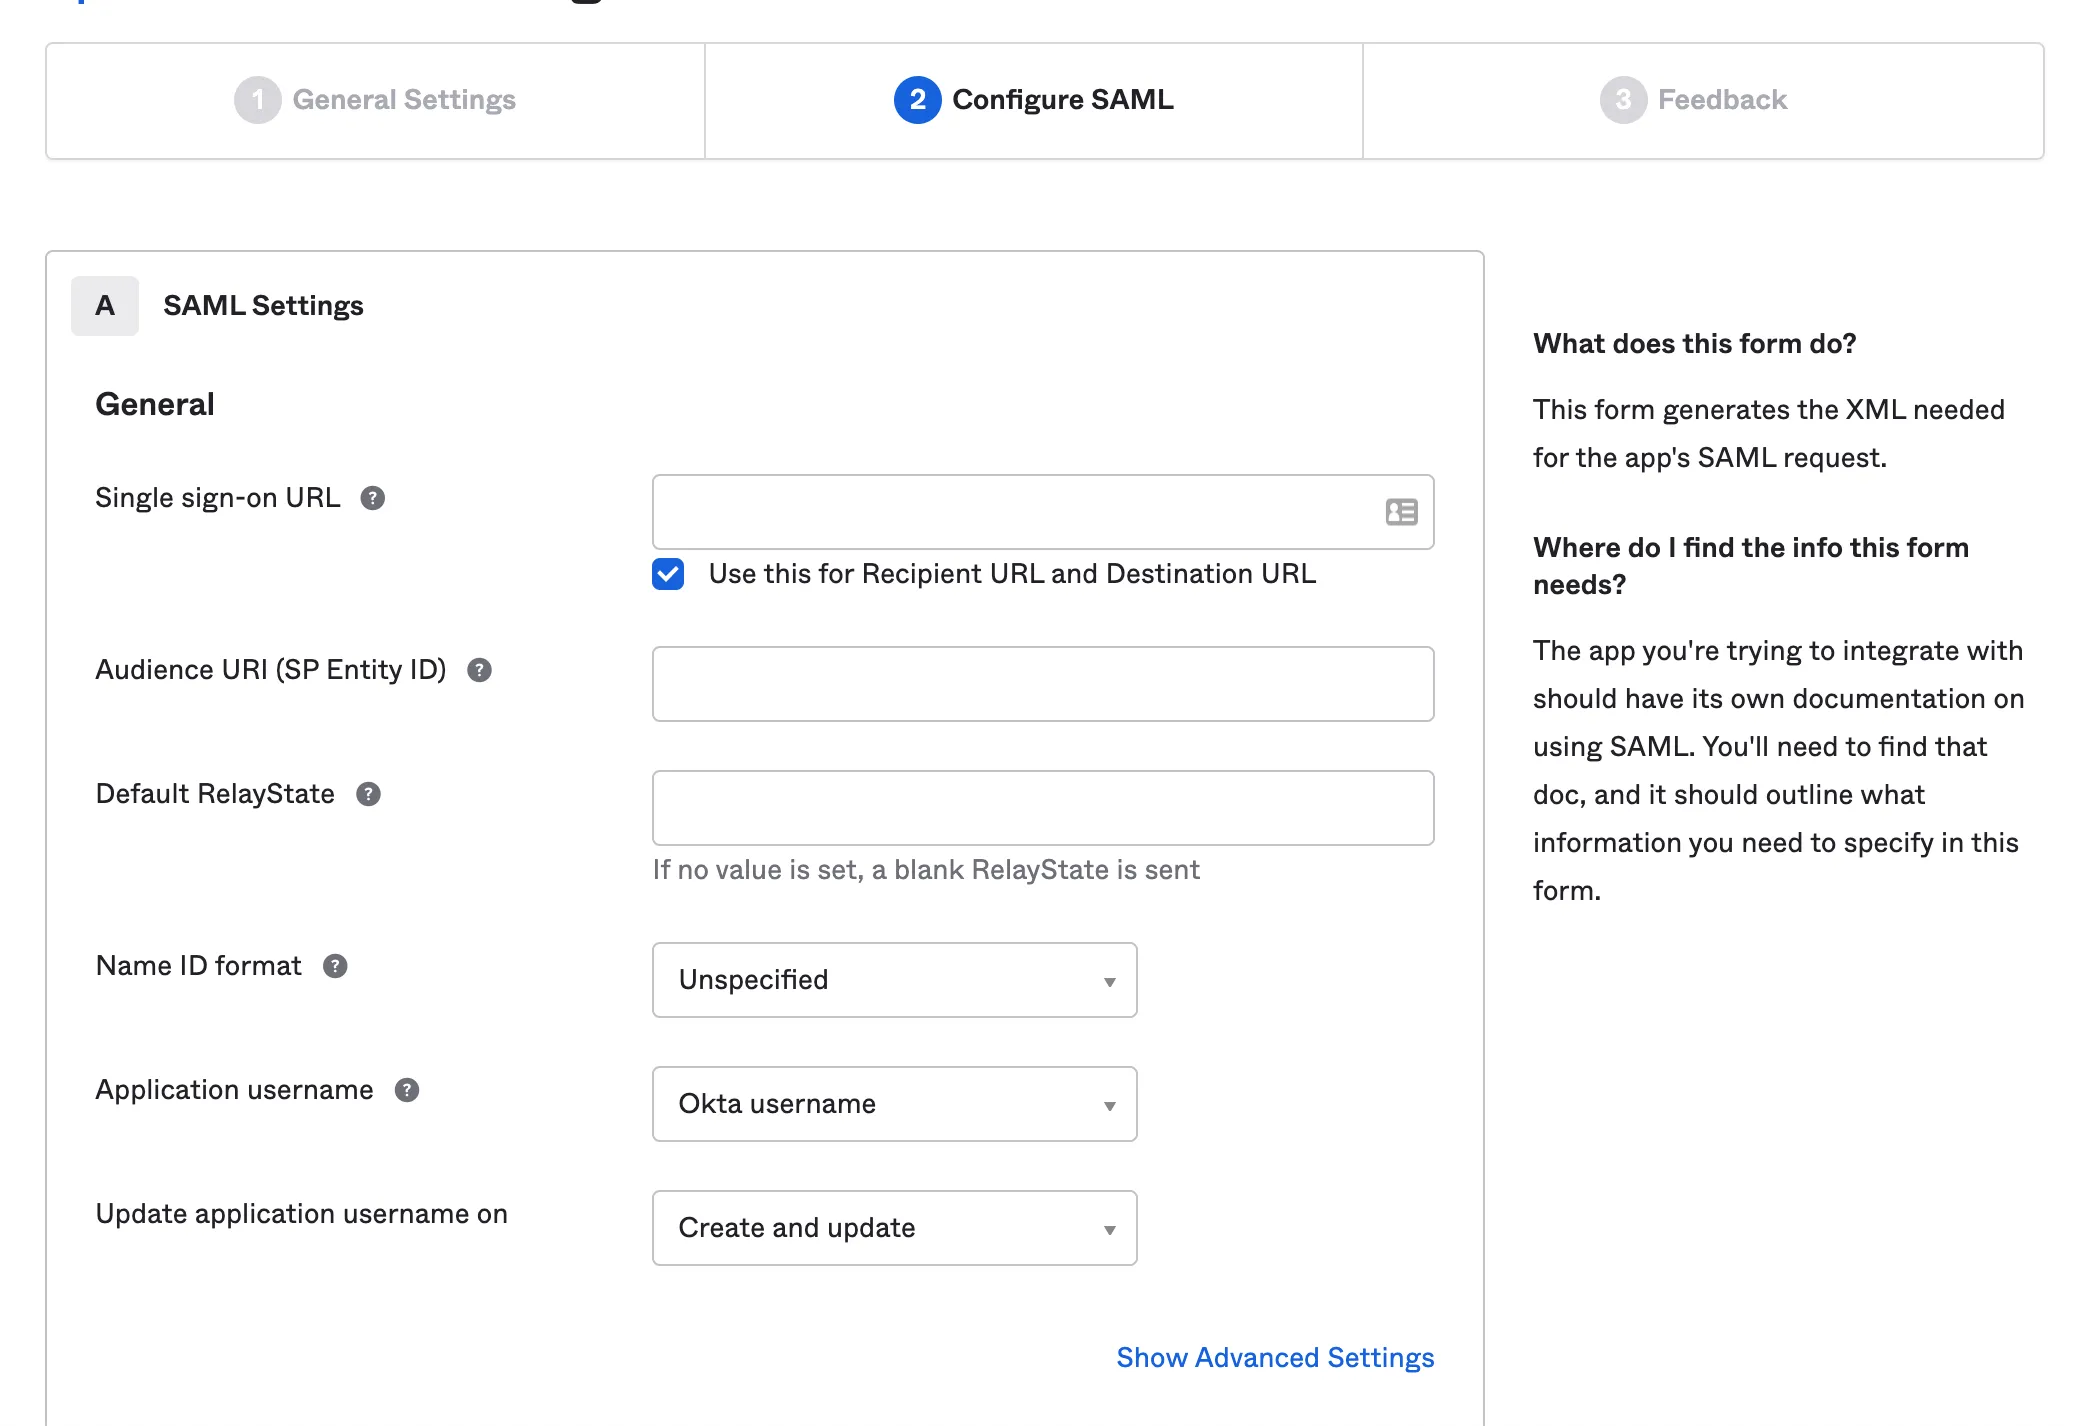
-
Nextを選択します。
-
**Are you a customer or a partner?**の下で、I’m an Okta customer adding an internal appを選択します。
-
App typeで、This is an internal app that we have createdを選択します。
-
Finishを選択します。
-
Oktaは、作成したアプリを表示するはずです。表示されない場合は、Applications > Applicationsに移動し、選択します。
-
Sign Onタブで、View SAML setup instructionsに移動し、それを選択してSAMLプロバイダー情報を取得します。

-
Identity Provider Single Sign-On URLのリンクをコピーして保存します。これは後でEmail Securityダッシュボードで使用する必要があります。

-
Optionalまでスクロールします。すべてのXMLデータをコピーして保存するためにテキストボックスを拡大する必要があるかもしれません。この情報はEmail Securityダッシュボードでの構成を完了するために必要です。メタデータの開始部分は次のようになります:
<?xml version="1.0" encoding="utf-8"?><EntityDescriptor ID="_<YOUR_DESCRIPTOR_ID>" entityID="https://<YOUR_ENTITY_ID> " xmlns="urn:oasis:names:tc:SAML:2.0:metadata">...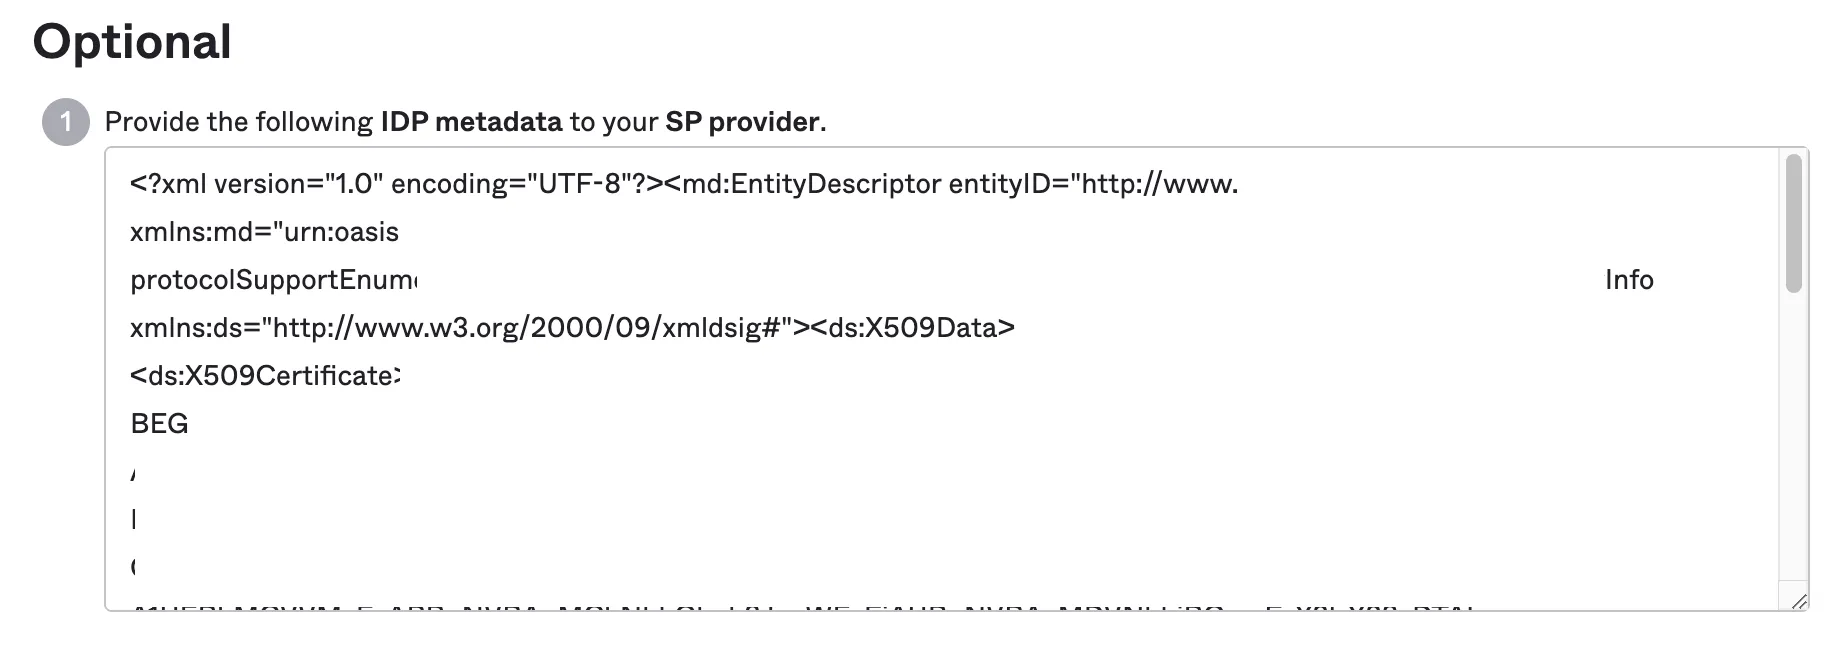
-
Email Securityダッシュボード ↗にログインします。
-
Settings(ギアアイコン)に移動します。
-
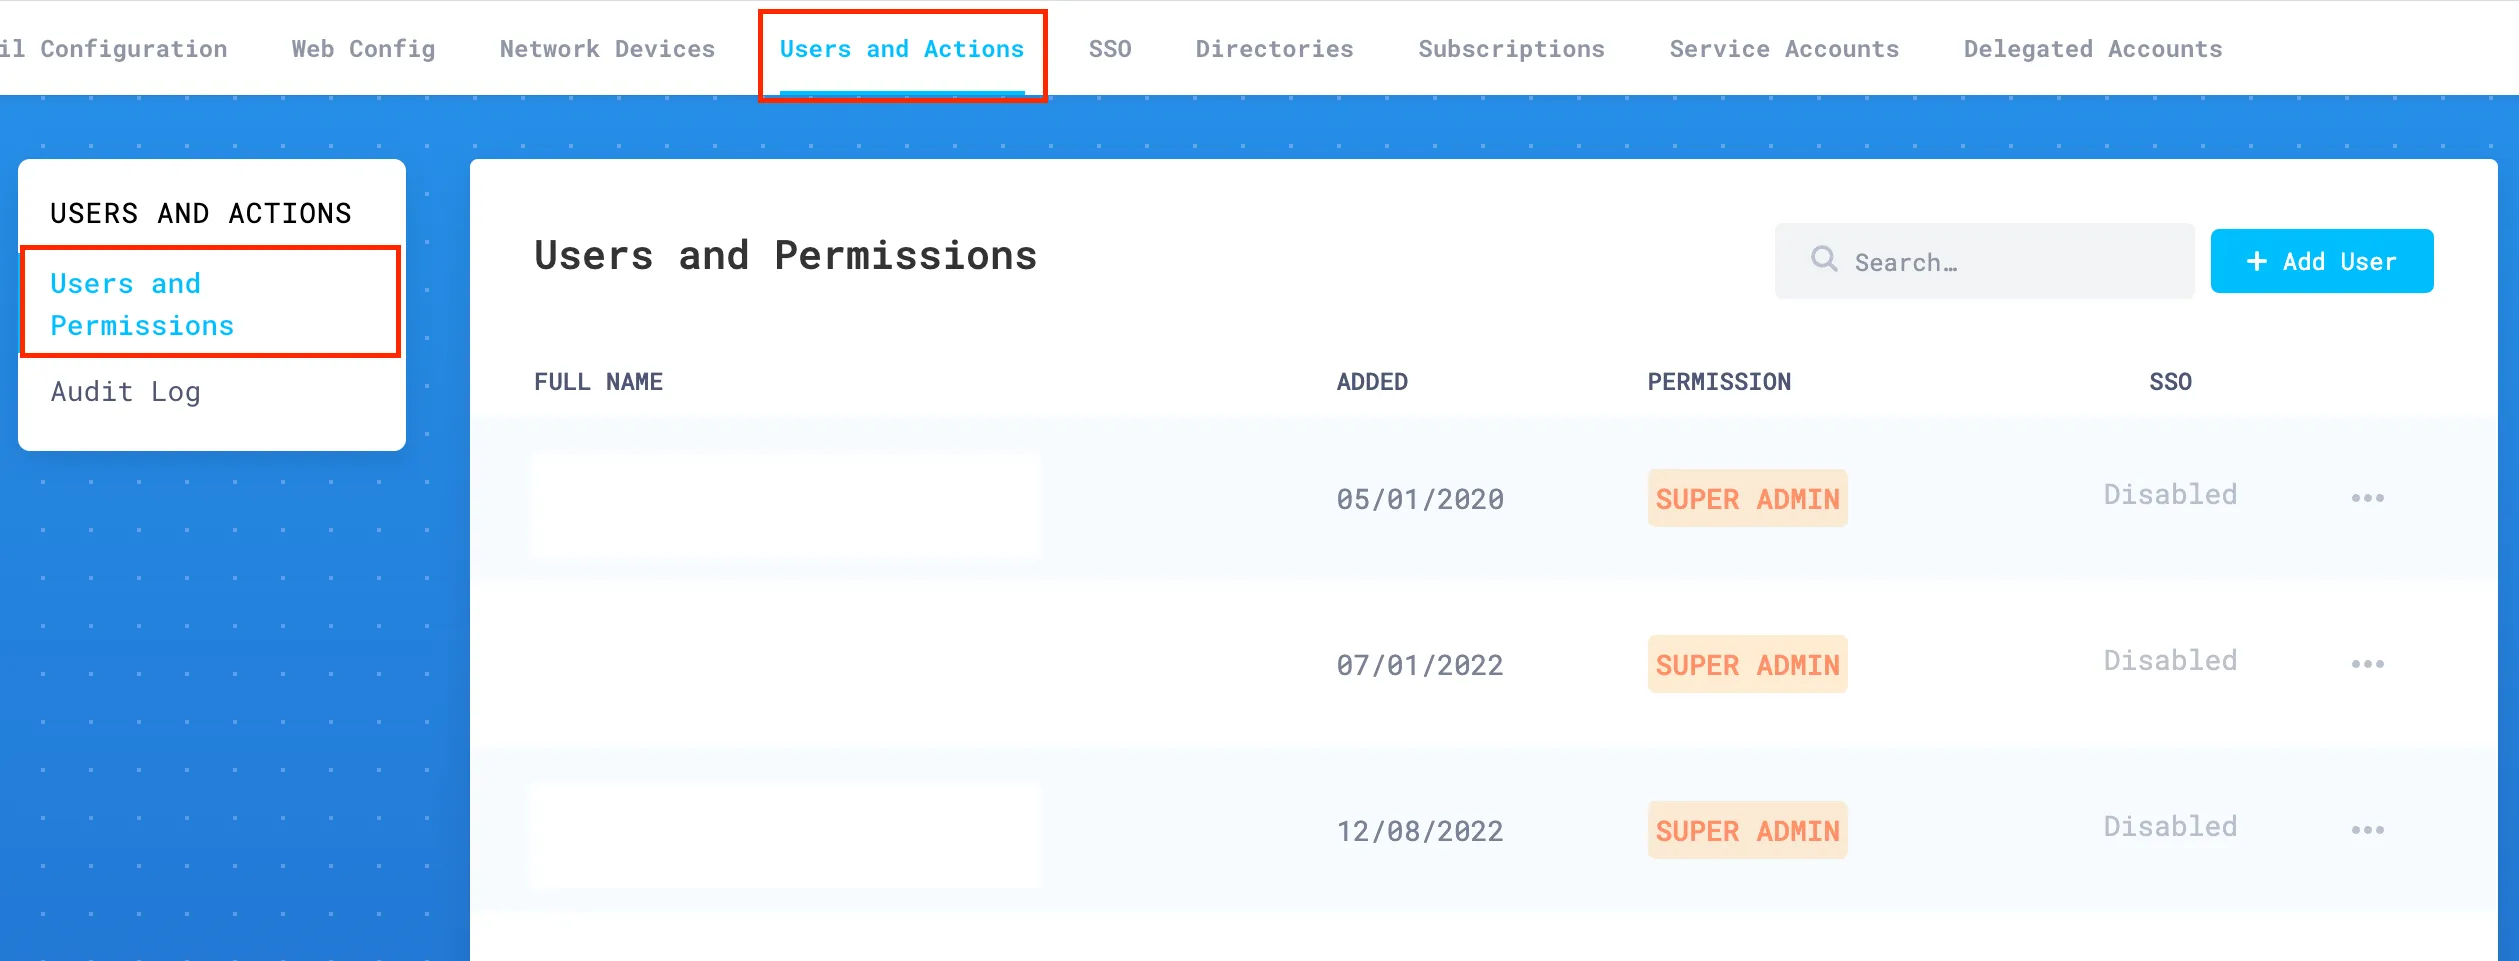
Users and Actions > Users and Permissionsで、すべての認可された管理者のメールアドレスを追加します。
-
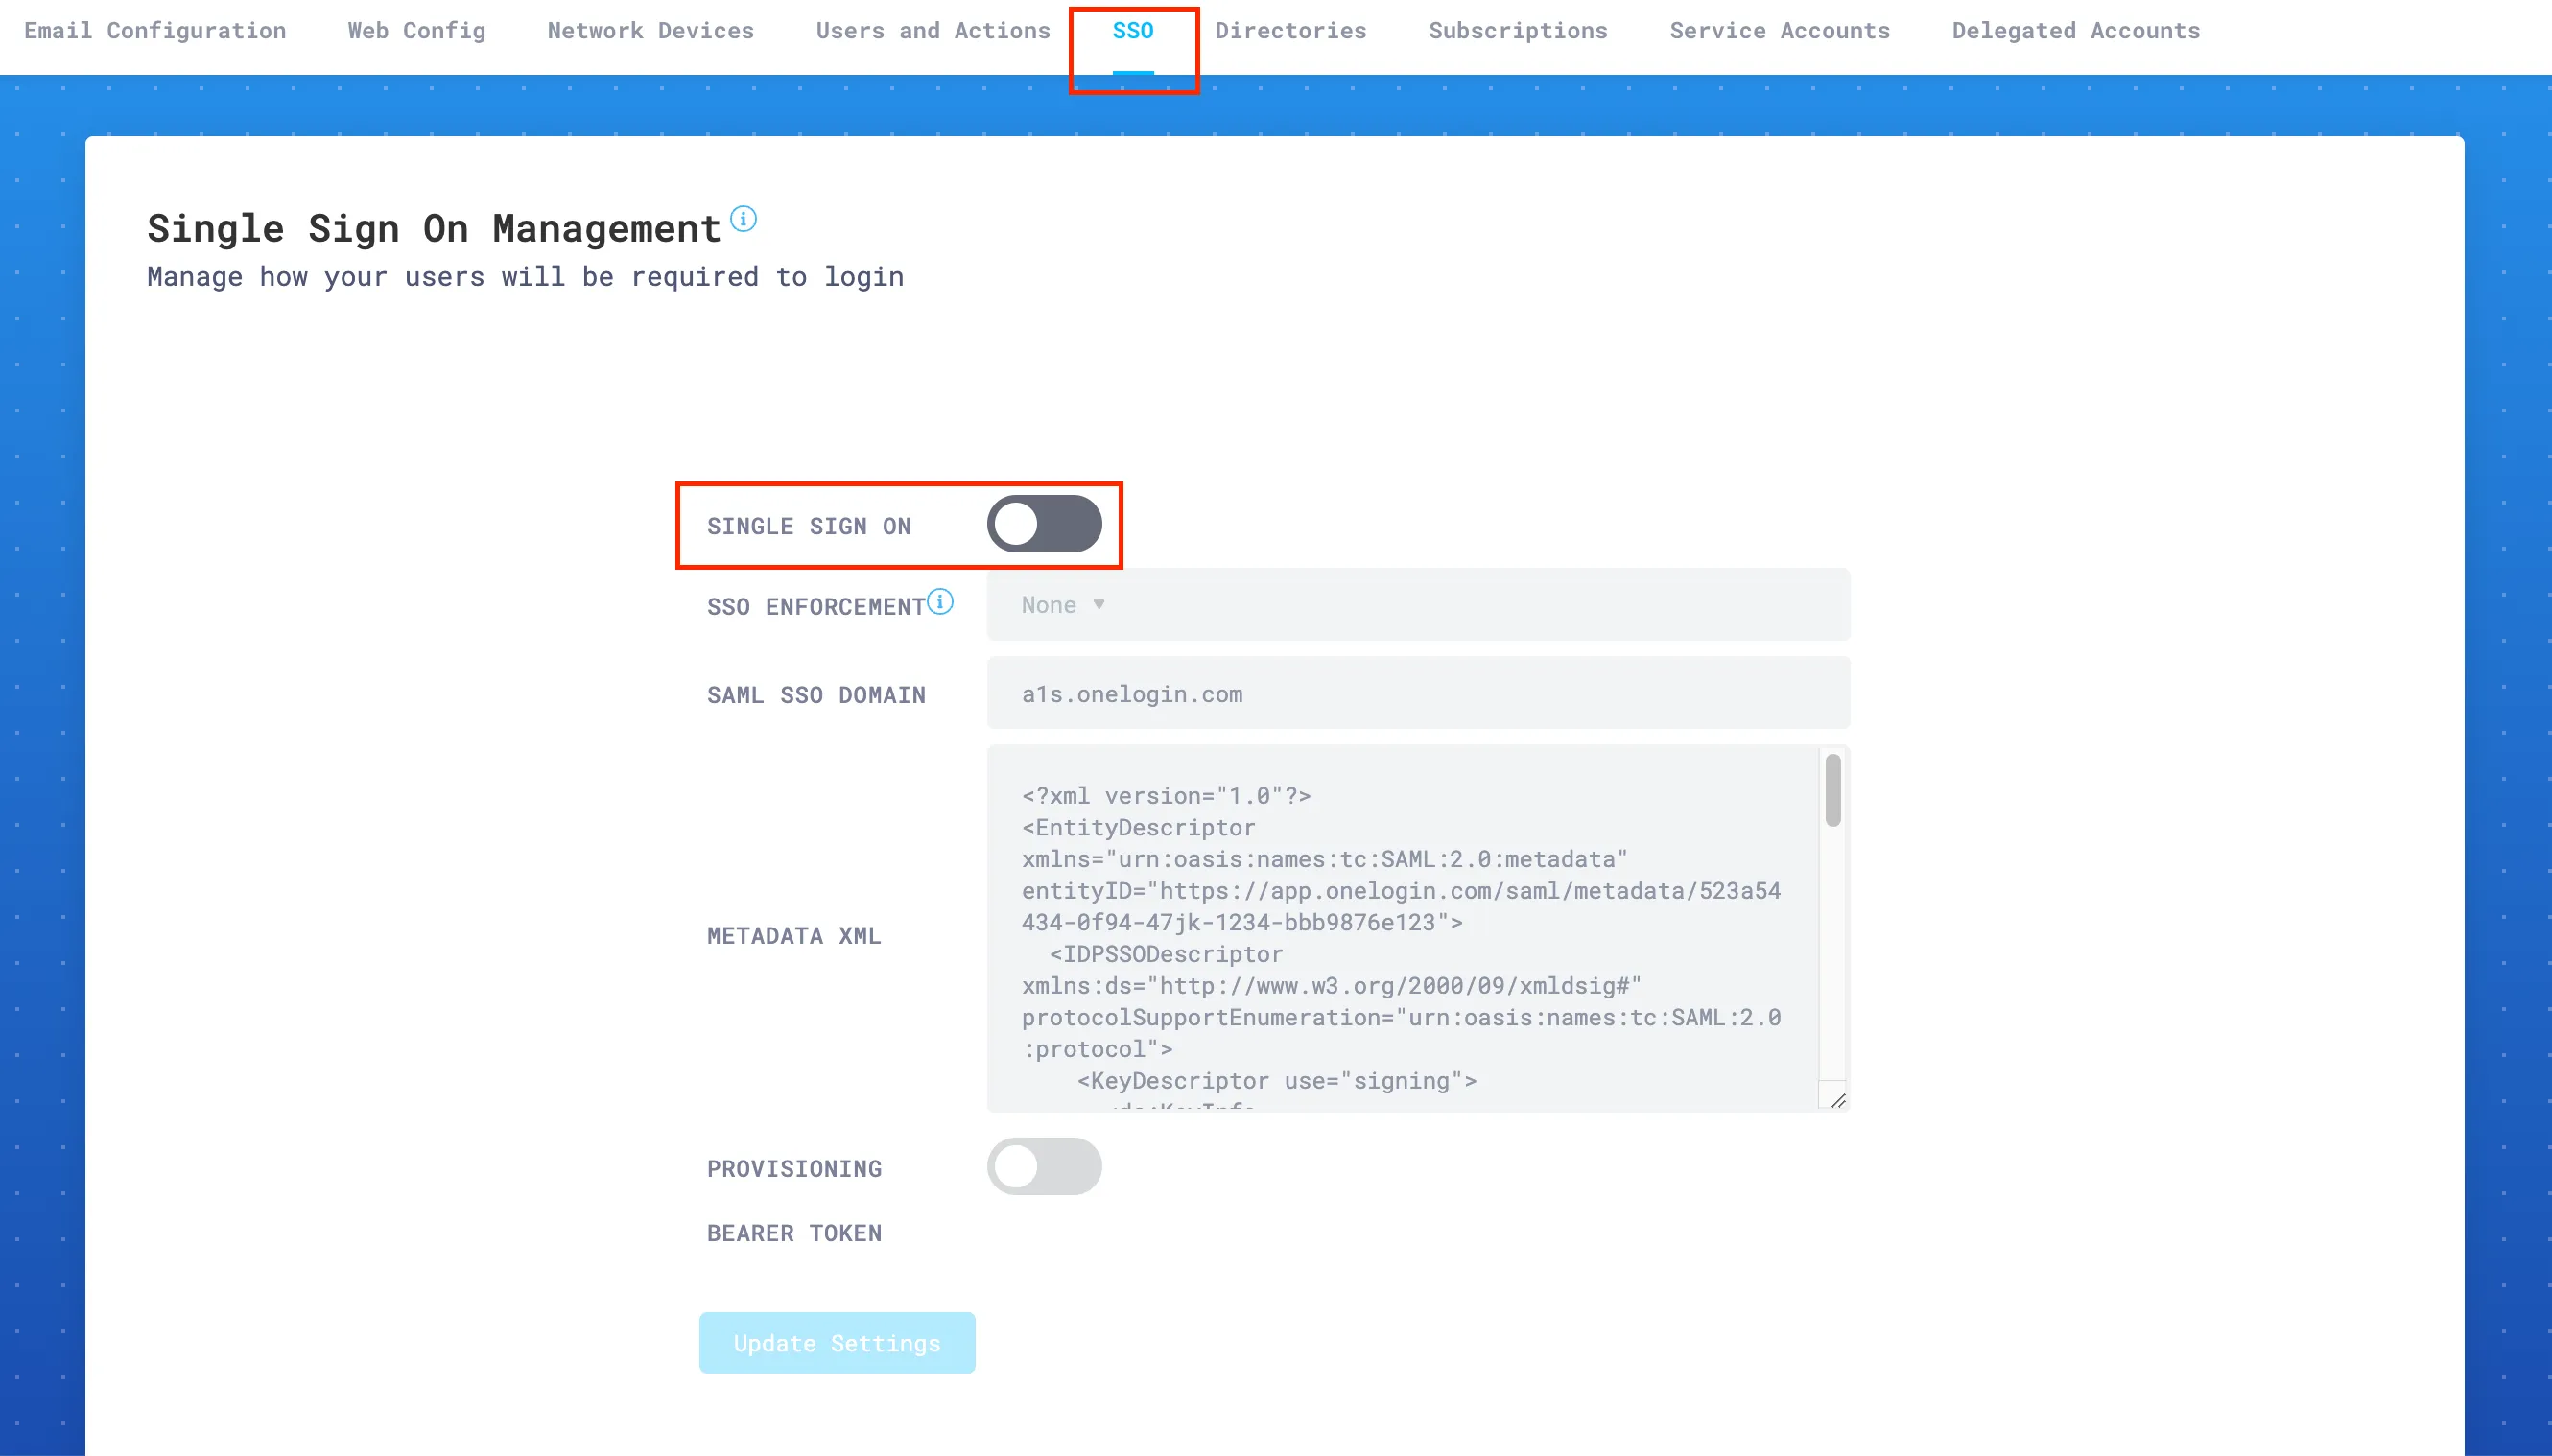
SSO Settingsに移動し、Single Sign Onスイッチを有効にします。
-
SSO Enforcementで、特定のニーズに応じて設定の1つを選択します:
- None: This setting allows each user to choose SSO, or username and password plus 2FA (this is the recommended setting while testing SSO).
- Admin: This setting will force only the administrator account to use SSO. The user that enables this setting will still be able to log in using username and password plus 2FA. This is a backup, so that your organization does not get locked out of the portal in emergencies.
- Non-Admin Only: This option will require that all
Read onlyandRead & Writeusers use SSO to access the portal. Admins will still have the option to use either SSO or username and password plus 2FA.
-
SAML SSO Domainに、ステップ13で保存したドメインを入力します。例えば、
area1security-examplecorp.okta.com。 -
Metadata XMLに、ステップ14で保存したXMLメタデータを貼り付けます。
-
Update Settingsを選択して構成を保存します。
顧客ポータルセッションからログアウトします。あなたのOktaアカウントには、Email Security(旧Area 1)のタイルが表示されるはずです。